This fermented vegetables recipe is one of the easiest things you can make at home. No fancy equipment. No complicated steps. Just fresh vegetables, salt, water, and a mason jar. Many home cooks across the US are getting back to basics in the kitchen.
They are growing their own produce, learning how to grow brussel sprouts, and making gut-friendly foods from scratch. Fermented vegetables fit right into that lifestyle. They are packed with natural probiotics that support digestion and overall health. Store-bought probiotic supplements can cost $30 or more.
This recipe costs a fraction of that. If you love pickles, you will absolutely love fermented vegetables. They have that same satisfying tang — but with serious health benefits your gut will thank you for.
What Are Fermented Vegetables?
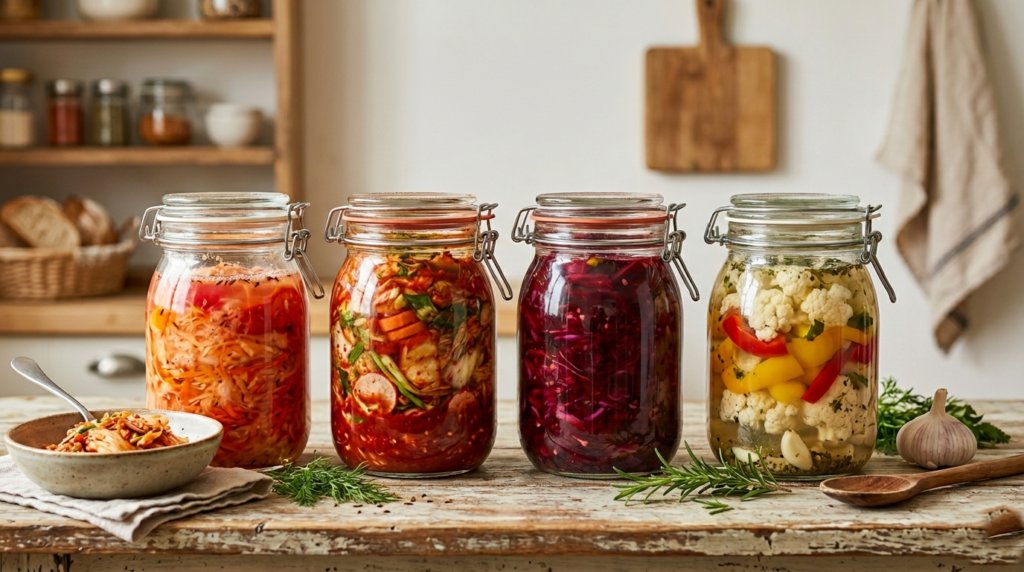
Fermented vegetables are fresh vegetables preserved through a natural biological process. No vinegar. No canning. Just salt, water, and time. Americans have been making them for generations — long before probiotic supplements existed.
Understanding Natural Fermentation
Fresh vegetables carry naturally occurring bacteria called lactobacillus. When packed in a salt brine without oxygen, these bacteria convert the vegetable’s natural sugars into lactic acid. That lactic acid is what creates the tangy flavor. It also acts as a natural preservative, keeping vegetables fresh for months in the refrigerator.
Fermented Vegetables vs Pickled Vegetables
Many people use these terms interchangeably. They are actually very different.
- Fermented vegetables use salt brine and beneficial bacteria to preserve naturally
- Vinegar pickles use acid added from outside — no live bacteria involved
- Fermented vegetables contain live probiotics that support gut health
- Vinegar pickles taste tangy but offer no probiotic benefit
- Fermentation develops complex, deep flavor over several days
- Pickling is faster but produces a sharper, more one-dimensional taste
Benefits of Making a Fermented Vegetables Recipe at Home
Making fermented vegetables at home is one of the smartest kitchen decisions you can make. It is simple, affordable, and genuinely good for your body.
Rich in Natural Probiotics
Fermented vegetables are loaded with live, beneficial bacteria. These are the same probiotics found in expensive supplements sold at US health stores — but completely natural and food-based.
Supports Gut Health and Digestion
A healthy gut makes a real difference in daily life. Regular consumption of fermented vegetables helps:
- Balance good and bad bacteria in your digestive system
- Reduce bloating and improve digestion
- Strengthen your immune system naturally
Budget-Friendly Alternative to Store-Bought Probiotics
Quality probiotic supplements in the US can cost $25 to $40 per bottle. A full mason jar of fermented vegetables costs under $3 to make at home. Same benefit. Much smaller price tag.
Long Shelf Life in the Refrigerator
Once fermented, vegetables stay fresh in the refrigerator for up to six months. You make one batch and enjoy it for weeks without worrying about spoilage.
Delicious and Versatile
These are not just health food. They taste great. Use them:
- As a crunchy side dish
- Tossed into salads and grain bowls
- Piled onto sandwiches and burgers
- Eaten straight from the jar as a snack
Ingredients for the Best Fermented Vegetables Recipe
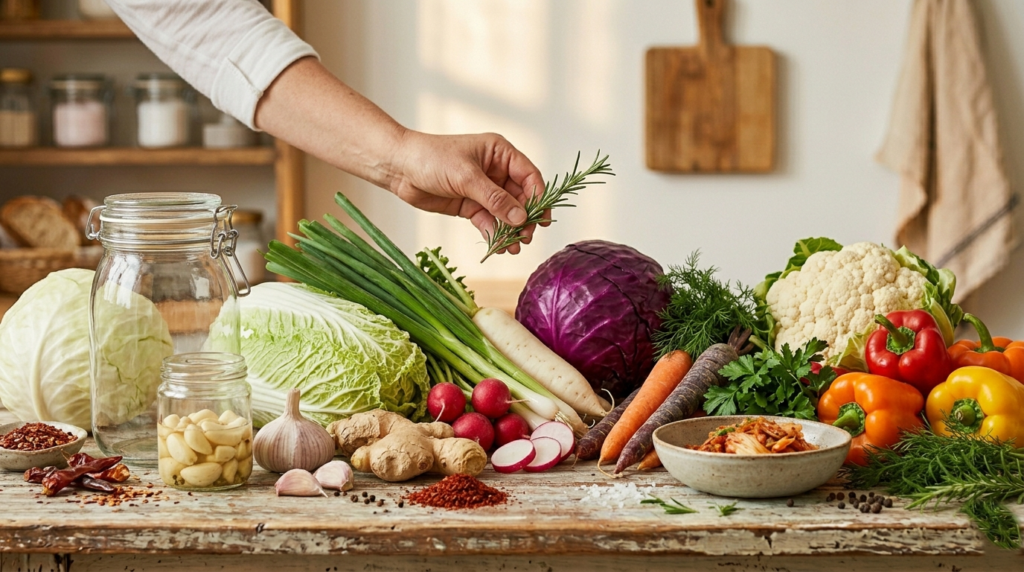
The beauty of this recipe is its simplicity. You do not need a long shopping list. Most of these ingredients are already sitting in your kitchen.
Essential Ingredients
These three basics are all you need to get started:
- Fresh vegetables — Pick firm, crisp vegetables from your local US grocery store or farmers market. Soft or overripe vegetables will not ferment well.
- Filtered water — Tap water in many US cities contains chlorine. Chlorine can kill the beneficial bacteria needed for fermentation. Always use filtered water.
- Sea salt or non-iodized salt — Regular iodized table salt interferes with fermentation. Use pure sea salt or kosher salt instead. These are easy to find at any grocery store.
Optional Flavor Add-Ins
This is where things get fun. Once you have your base ingredients ready, you can customize the flavor completely.
- Garlic — Adds a bold, savory depth
- Ginger — Brings a warm, slightly spicy kick
- Dill — Gives that classic pickle-like flavor Americans love
- Peppercorns — Add mild heat and complexity
- Chili flakes — Perfect for those who like a spicy fermented vegetable jar
Start simple on your first batch. Add flavor combinations as you get more comfortable with the process.
Here’s the content for your H2 section:
Equipment You’ll Need
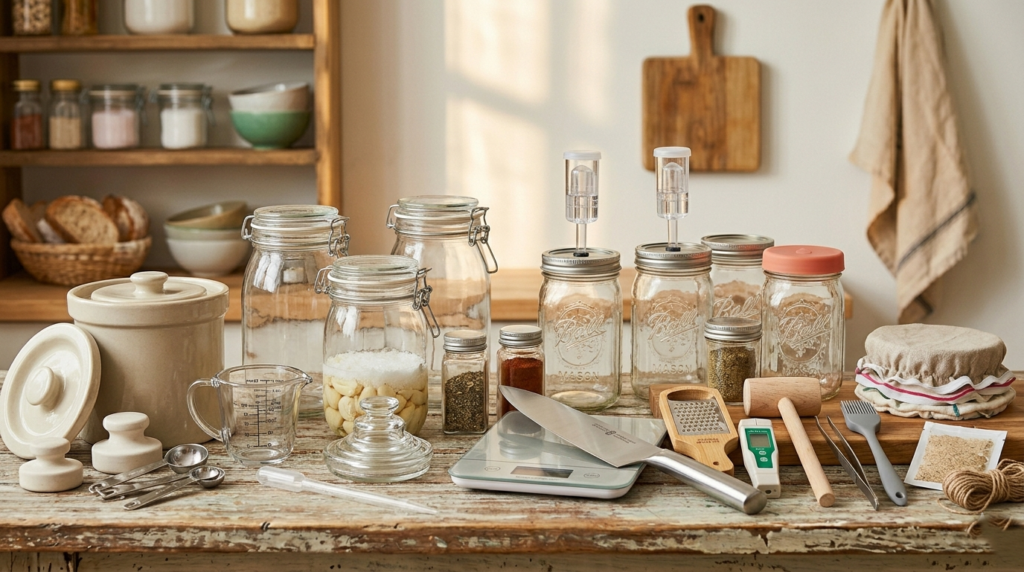
Good news — you do not need any fancy or expensive tools for this. Most of these items are already in your kitchen. If not, they are easy to find at any Walmart, Target, or Amazon in the US.
- 1-quart wide-mouth mason jar — This is your fermentation vessel. The wide mouth makes it easy to pack vegetables tightly and clean thoroughly. Ball and Kerr mason jars are popular and affordable US brands worth grabbing.
- Plastic lid or fermentation lid — Skip the metal mason jar lids. Metal can rust when exposed to salt brine. A simple plastic lid works perfectly. Fermentation-specific lids with airlocks are also available online and allow gases to escape without letting air in.
- Small weight to keep vegetables submerged — Vegetables must stay below the brine at all times. A small zip-lock bag filled with water or a clean glass weight works great for this.
- Mixing bowl — You will need this to mix your salt brine before pouring it into the jar.
- Measuring spoons — Getting the salt ratio right matters. Too little salt and fermentation may not work properly. Too much and it slows the process down significantly.
How to Make Fermented Vegetables Recipe Step by Step
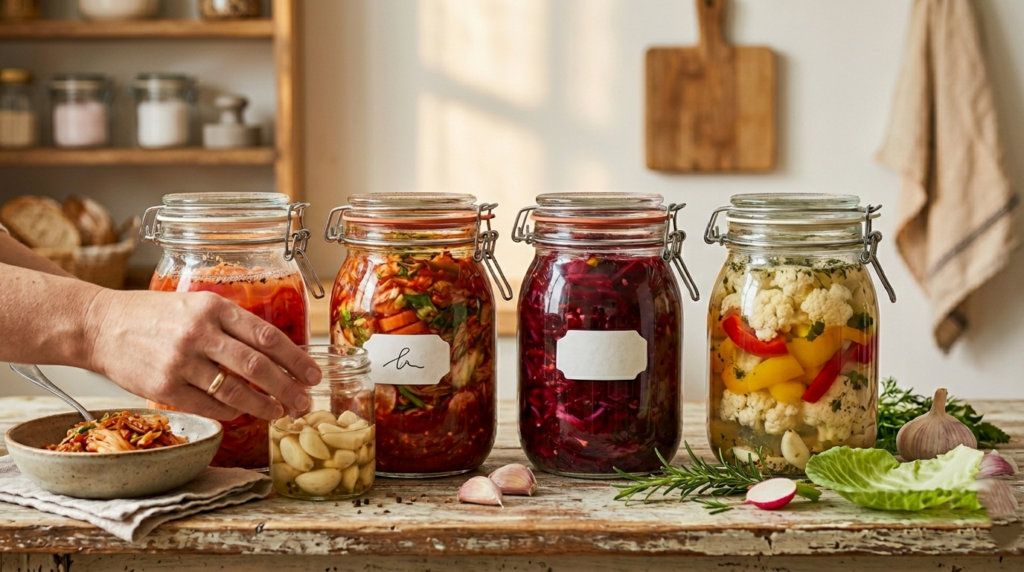
Follow these steps and your first batch will turn out great.
Step 1: Wash and Prepare the Vegetables
Rinse all vegetables thoroughly under cold water. Cut them into sticks, slices, or florets — whatever fits best in your jar.
Step 2: Make the Salt Brine
Mix 1 tablespoon of sea salt with 2 cups of filtered water. Stir until the salt fully dissolves.
Step 3: Pack the Mason Jar
Pack your vegetables tightly into the mason jar. The tighter the better. This leaves less room for unwanted air pockets.
Step 4: Pour in the Brine
Pour the salt brine over the vegetables slowly. Make sure every vegetable is fully covered.
Step 5: Keep Vegetables Fully Submerged
This step is critical. Use a small weight or zip-lock bag filled with water to keep vegetables pressed below the brine level.
Step 6: Cover the Jar Loosely
Do not seal the jar completely. Gases need to escape during fermentation. A loosely placed plastic lid works perfectly here.
Step 7: Ferment at Room Temperature
Leave the jar on your kitchen counter away from direct sunlight. Room temperature between 65°F and 75°F is ideal for most US kitchens. Warmer temperatures speed up fermentation. Cooler temperatures slow it down.
Step 8: Taste and Refrigerate
Start tasting your vegetables from day three onward. Once the flavor is tangy enough for your liking, move the jar to the refrigerator.
How Long Does It Take to Ferment Vegetables?
Most batches are ready within 3 to 7 days. Summer kitchens ferment faster. Cooler winter kitchens may need the full seven days. Taste daily after day three to track progress.
Signs fermentation is complete:
- Vegetables taste pleasantly sour and tangy
- Brine looks slightly cloudy
- Bubbling has slowed down noticeably
How to Tell If Your Fermented Vegetables Recipe Is Working
Good Signs
- Tiny bubbles forming along the sides of the jar — fermentation is active
- Tangy aroma coming from the jar when opened — completely normal and expected
- Slightly sour taste developing day by day — your probiotics are forming
Signs of Spoilage
Stop and discard the batch immediately if you notice:
- Fuzzy mold growing on the surface
- Unpleasant or rotten odor that smells nothing like tang
- Slimy texture on the vegetables themselves
Common Fermentation Mistakes to Avoid
Small mistakes can ruin an entire batch. Avoid these four common ones from the start.
Using Iodized Salt
Regular table salt sold across most US grocery stores contains iodine. Iodine kills the beneficial bacteria your ferment needs. Always use sea salt or kosher salt instead.
Not Keeping Vegetables Submerged
Any vegetable sitting above the brine is exposed to air. That leads to mold growth fast. Keep everything pressed down below the liquid at all times.
Overfilling the Jar
Fermentation produces gases and bubbling liquid. Overfilling causes overflow and mess on your counter. Leave at least one inch of space at the top.
Storing in Direct Sunlight
Sunlight raises the jar temperature unevenly and disrupts the fermentation process. Store your jar in a cool, shaded spot in your kitchen throughout the entire fermentation period.
How to Store Homemade Fermented Vegetables
Once your vegetables are fully fermented, proper storage keeps them fresh and probiotic-rich for months.
Refrigeration tips:
- Move the jar to the refrigerator immediately after fermentation is complete
- Always keep vegetables pressed below the brine even during storage
- Open the jar occasionally to release any built-up gas
How long they last:
- Properly stored fermented vegetables last up to 4 to 6 months in the refrigerator
- Flavor continues developing slowly over time — they actually get better with age
- Discard immediately if mold, sliminess, or off smells appear
Best containers for storage:
- Your original wide-mouth mason jar works perfectly for storage
- Ball and Kerr glass jars are reliable and widely available across the US
- Always use glass over plastic — glass does not absorb odors or react with the acidic brine
Conclusion
Making a fermented vegetables recipe at home is simpler than most people think. A mason jar, some fresh vegetables, salt, and filtered water are all you need. The process costs very little but delivers real, lasting health benefits. Your gut will thank you after the very first batch. Start with one jar. Try different vegetables. Experiment with flavors you enjoy. Once you see how easy and affordable this is, store-bought probiotic supplements will feel unnecessary. Thousands of home cooks across the US are already making this a weekly kitchen habit. It is time you did too. Your first batch is waiting.
:
Frequently Asked Questions
Do I Need a Special Fermentation Kit and What Equipment Works Best for Beginners?
No special kit is required. A simple wide-mouth mason jar and plastic lid are enough to make any fermentation recipes for beginners. Special airlocks and fermentation kits are available at US kitchen stores but completely optional. Start basic. Upgrade your equipment only after you feel comfortable with the process.
What Salt Works Best and How Does It Affect My Fermented Vegetables Brine Recipe?
Sea salt and kosher salt are your best options for a proper fermented vegetables brine recipe. Both are easy to find at any US grocery store. Never use regular iodized table salt. Iodine kills the beneficial bacteria your ferment depends on. Pink Himalayan salt is another reliable option many experienced home fermenters across the US prefer.
Can I Reuse the Brine and How Does It Benefit My Next Fermented Mixed Vegetables Recipe?
Absolutely. Leftover brine from a finished batch is incredibly valuable. It contains live probiotics and active bacteria that jumpstart your next fermented mixed vegetables recipe faster than starting from scratch. Simply add a splash of old brine into your new jar. Your next batch will ferment quicker and develop a richer, deeper flavor.
Why Are My Vegetables Floating and How Do I Fix It?
Floating vegetables are completely normal and one of the most common issues in any best fermented vegetable recipes. Vegetables naturally rise above the brine during active fermentation. Press them back down using a clean weight or a water-filled zip-lock bag. Keeping vegetables fully submerged prevents mold growth and ensures every piece ferments evenly throughout the jar.
Can I Ferment Frozen Vegetables and What Are the Real Fermented Vegetables Benefits?
Frozen vegetables are not recommended for fermentation. Freezing breaks down cell walls and makes vegetables soft and mushy during the fermentation process. Always use fresh, firm vegetables for how to ferment vegetables for probiotics successfully. The real fermented vegetables benefits come from live bacteria that develop naturally in fresh produce — benefits that include improved digestion, stronger immunity, and a healthier gut microbiome.